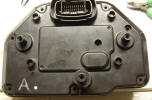
Step 1:
Remove 8 case screws
 |
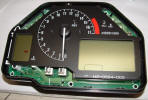
Step 2: Disassemble
cluster and remove 2 screws from faceplate
 |
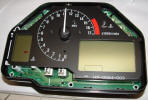
Step 3: Turn needle to
point towards top of gauges.
 |
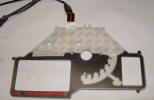
| Step 4: Prepare
faceplate by tearing off half of the backing (to keep it from
sticking during installation)
 |
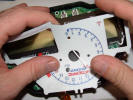
Step 5: Slide faceplate
over needle
|
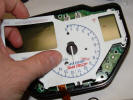
Step 6: Align faceplate
with original faceplate and fasten in place
 |
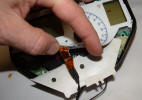
| Step 7: Remove the 2nd
half of backing not removed in step 4
 |
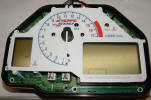
Step 8: Fasten top half
of faceplate to original faceplate and re-install 2 screws (do not
over tighten)
 |
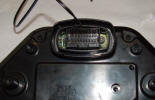
Step 9: Re-assemble case
and route the wire out the rear of the gauge cluster:
|
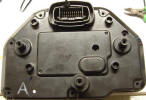
| Step 10: Install 8
screws removed in step 1 making sure not to pinch the wires.
|
Step 11: Route the wires
and connect to transformer which is connected to power from the
bike. Red should be connected to a switched +12v supply and white
should be connected to ground. |
Note: We can install these
for you free if you send in your gauges when ordering the faceplate.
We will install the transformer wiring directly onto the circuit
board inside the gauges so that all you need to do is plug them in
and go riding. This will also qualify you for a lifetime warranty on
the faceplate itself. |
